

Last updated on September 8, 2026
Your gaming setup isn’t just a computer and a couple of screens. It’s likely hundreds, possibly thousands of dollars of carefully chosen components, peripherals, and displays. And unlike a sofa or a bookshelf, a gaming rig has fragile internals that don’t respond well to being jostled around in the back of a truck.
The good news? With the right approach, you can move your entire setup safely, whether you’re relocating across Sydney or interstate. Here’s how to pack a gaming setup for moving so everything arrives intact and ready to boot up.
Why Gaming Gear Needs Extra Care When Moving
Gaming equipment has several components that are particularly vulnerable during transport.A large graphics card can place considerable weight on its connection to the motherboard, while oversized CPU coolers can put additional strain on their mounting points.
Monitors have delicate panels that can crack or develop display issues if they’re dropped, crushed or subjected to pressure. Even smaller items such as keyboards, headsets and controllers can be damaged if they’re left loose in a moving box.
Think of your gaming setup as fragile electronic equipment rather than ordinary household furniture. A little extra care when packing can prevent an expensive repair or replacement later.
How to Transport a Gaming PC Without Damage
Start with a Plan
Before unplugging anything, take a few photos of your setup. Photograph the back of your PC, monitor connections, power boards and cable arrangement from several angles. If you have a multi-monitor setup, capture how the screens are positioned and connected. These photos give you a useful reference when you’re ready to put everything back together.
It’s also a good time to back up anything important on your PC. Your gaming computer may contain saved games, personal files, photos or other data you’d rather not lose. Back up important files to an external drive or cloud storage before you start disconnecting your equipment.
Then gather everything you’ll need to pack the setup, including:
- Anti-static bags for components such as graphics cards
- Bubble wrap and packing foam
- Sturdy boxes in appropriate sizes
- Cable ties or Velcro straps
- Zip-lock bags for screws and small accessories
- Packing tape
- A permanent marker for labelling
- Microfibre or other soft, lint-free cloths
- Original boxes and protective inserts, if you’ve kept them
Set up a clean, clear workspace before you start disassembling your equipment. Keeping screws, cables and components organised as you go will make packing and unpacking much easier.
Power Down and Unplug Everything
Shut down your computer properly rather than just switching it off at the power point. Once it has completely powered down, switch off the power supply and unplug the PC and all connected peripherals. Give the system a moment before you disconnect cables or handle components.
Remove Heavy Components Where Practical
If you’re comfortable with putting your computer back together, consider removing particularly heavy components before moving it. The graphics card is the main one to think about. A large GPU can be surprisingly heavy and is supported through its slot and mounting bracket. Removing it and transporting it separately reduces stress on the motherboard during transit.
Large aftermarket CPU air coolers can also add weight and leverage to the motherboard. If yours is particularly large or heavy, check the manufacturer’s guidance and consider removing it before the move.
Place removed components in appropriate anti-static bags and pack them securely in a separate, well-padded box. Keep screws and mounting hardware in labelled zip-lock bags so nothing disappears during the move.
Prevent Components from Moving
If components are staying inside the PC, make sure nothing is loose before packing the case. Purpose-made internal packing foam can help support larger components during transport. Avoid stuffing the case with loose household materials that could catch on fans, shift during transit or leave debris behind.
If your PC has custom liquid cooling, take additional care. Long-distance moves can add extra risk, especially if the system needs to be drained or otherwise prepared for transport. If you’re unsure, it’s best to consult the manufacturer.
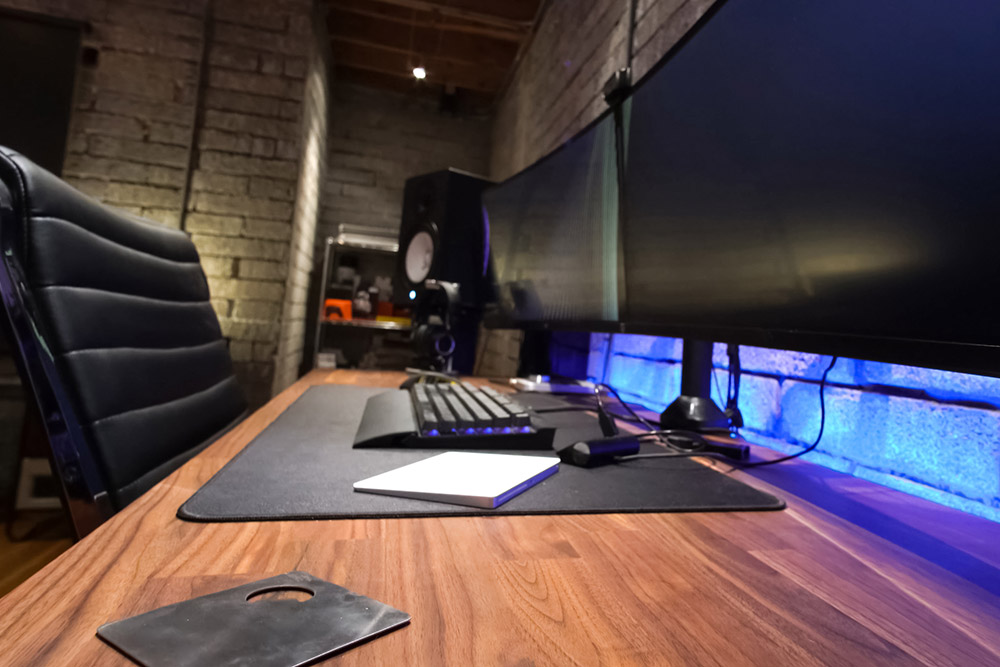
Monitors can be one of the trickiest items to pack, so you’ll want to be particularly careful while doing so.
Pack Gaming Monitors Properly
Monitors can be one of the trickiest parts of a gaming setup to move because the display panel is particularly vulnerable to impact and pressure. If you still have the original monitor box and moulded inserts, use them. They’re designed specifically to hold and protect the screen during transport.
If you no longer have the original packaging, start by protecting the screen with a soft, clean cloth. Add a layer of bubble wrap, paying particular attention to the corners, and use rigid protective material where appropriate to prevent direct pressure on the panel.
Pack each monitor individually in a sturdy box and use enough cushioning to prevent it from moving around. Keep monitors upright during transport rather than laying them flat and placing other items on top. Never put heavy boxes or furniture against the screen.
For multi-monitor and ultrawide setups, resist the temptation to bundle screens together to save space. Packing each display separately gives each one its own layer of protection and reduces the risk of one screen damaging another.
Remove monitor stands where practical and pack the stands and mounting hardware separately. Put screws and other small parts into labelled bags so they’re easy to find when you’re setting everything up again.
Pack Your Keyboards, Mouse and Other Peripherals
Once you’ve protected the PC and monitors, don’t overlook the smaller pieces of your setup. Loose peripherals can easily become damaged or misplaced during a move.
- Keyboard and mouse: Wrap each item individually in protective material and place them together in a padded box. If your keyboard has removable keycaps, secure them or pack any loose pieces separately.
- Headset: Protect the headband and earcups with padding to prevent them from being bent or crushed.
- Controllers: Wrap controllers individually so they can’t knock against other hard objects.
- Speakers: Remove cables and wrap speakers separately, particularly if they have exposed controls or delicate finishes.
- Webcams and microphones: Use their original packaging if available and protect stands and mounts from bending.
- Cables: Coil cables neatly and secure them with Velcro straps or cable ties. Labelling them can save a lot of time later.
Don’t throw every cable into one box and hope you’ll work it out at the other end. Label cables by what they connect to, particularly HDMI, DisplayPort, USB and power cables.
Don’t Forget the Gaming Desk and Chair
Gaming desks can often be partially disassembled for easier transport. Remove legs, shelves or other detachable components where appropriate and keep all hardware together in a labelled bag.
Gaming chairs can usually be disassembled to some degree as well. Depending on the model, removing the arms, base, or other components can make the chair easier to move and reduce the risk of bending or damaging it. Keep the screws and fittings for your desk and chair together rather than leaving them loose in the moving truck.
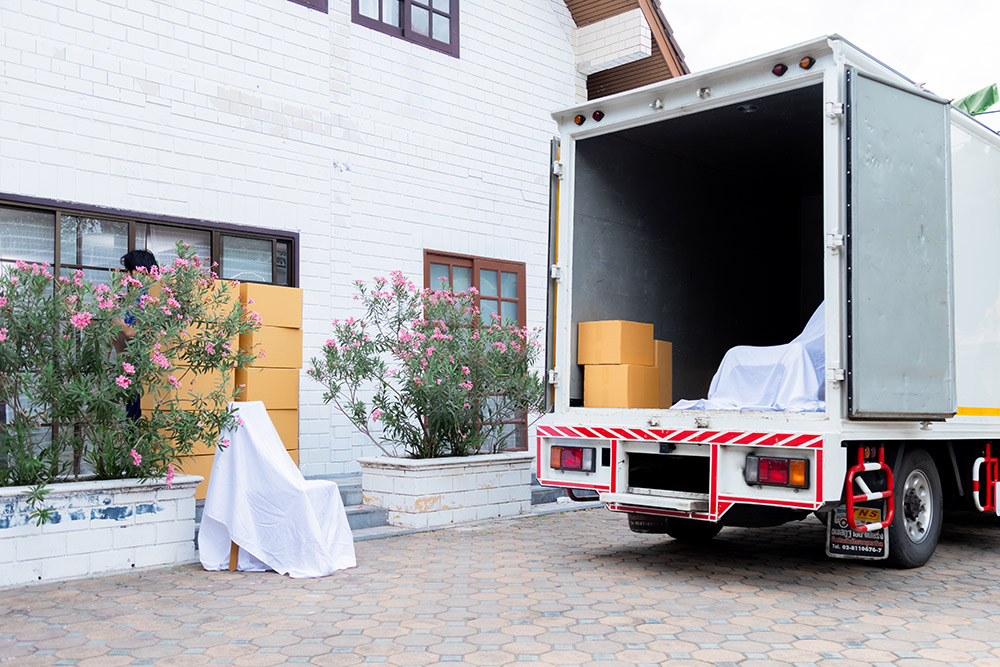
When loading your gaming setup into the vehicle, you’ll want to keep your PC tower and monitors away from heavy furniture.
Loading and Transit
When loading everything into the vehicle, keep your PC tower and monitors away from heavy furniture that could shift and crush them. Place them on a flat surface where they won’t slide, ideally wedged securely so they stay upright throughout the journey.
Avoid stacking anything on top of monitor boxes or your tower, and if you’re moving during an Australian summer, don’t leave your gear baking in a hot vehicle any longer than necessary, as extreme heat isn’t kind to electronics. If your move is a long interstate haul, keep sensitive boxes in the cabin or a climate-controlled space rather than an exposed trailer.
If you’re loading the truck yourself, save the electronics for last so they go in on top and come off first, minimising the time they spend under pressure or in the way of heavier items being shuffled around.
Setting Up at the Other End
Resist the urge to plug everything in the moment you’ve arrived at your destination. Electronics that have travelled through temperature changes benefit from time to acclimatise to room temperature, which helps avoid condensation forming inside the case.
Once settled, reinstall any components you removed, reconnect everything using those photos you took, and do a careful visual check before hitting he power button. Boot into your system and confirm everything is recognised before you dive back into a game.
If something doesn’t fire up as expected, don’t panic. The most common culprits after a move are simply a loose RAM stick, an unseated graphics card, or a cable that’s worked its way free.
Consider Hiring Moving Professionals
Packing electronics correctly takes time, care, and the right materials, and even then, a bad bump on the road can undo careful work. If your setup represents a significant investment, or you don’t want the stress of getting it wrong, professional removalists who understand how to handle delicate electronics can take the worry off your plate.
The team at Bill Removalists has the experience and equipment to move fragile and valuable items safely, so your gaming setup arrives ready to game rather than ready for the repair shop.
Get a Competitive & Affordable Online Quote
When it comes to moving, Bill Removalists Sydney provides the experience, equipment and support needed for a smooth, efficient and stress-free move. Whether you’re moving locally, interstate, or between offices, our team will handle every stage of your move.
Get a competitive online quote now or speak to one of our friendly representatives at 0425 351 578.
Where To Find Us?
You can find our offices here: 45 Platform Street, Lidcombe, NSW 2141
Contact Us
Email Address: info@billremovalistssydney.com.au
Call Us: 0425 351 578
We are open Monday – Sunday: 7:30am – 7:30pm.
FAQs
How do you pack a gaming setup for moving?
Start by photographing your setup for reference, then power down and unplug everything. Pack the PC tower upright in a well-padded box, ideally removing the graphics card first. Wrap monitors in cloth and bubble wrap and keep them upright, and coil and label all cables. Wrap peripherals individually, keep screws in labelled bags, and load everything carefully.
What is the safest way to move a gaming PC?
The safest method is to remove heavy internal components like the graphics card, wrap them separately in anti-static bags, and fill any empty space inside the case with foam so nothing rattles. Wrap the tower in bubble wrap and pack it upright in a snug box, then keep it secure and upright throughout the journey. For high-value builds, professional removalists offer the most peace of mind.
Should I remove the graphics card before moving my PC?
For most modern gaming PCs, yes. Graphics cards are heavy and hang off a single slot, so the vibration of a truck during the move can stress or damage the mounting point and the motherboard. Removing the GPU and packing it separately in an anti-static bag is one of the best ways to prevent damage. If you’re not confident opening your case, packing foam around the card for support is a safer alternative.
Can I move a gaming PC without the original box?
Yes. While the original packaging is ideal, you can safely move your PC without it. Wrap the tower in bubble wrap, place it upright in a sturdy box slightly larger than the case, and fill all the gaps with packing material so it can’t move. The key is preventing any shifting or impact during transit.
Is it safe to leave components inside a gaming PC while moving?
It can be, as long as you take precautions. Lighter components are generally fine to leave in place, but heavy graphics cards and large CPU coolers are best removed or well supported with foam, as they put strain on the motherboard during transit. Filling empty case space with padding stops anything from rattling loose.
How long should I wait before setting up my gaming PC after moving?
It’s wise to let your PC sit for a few hours to reach room temperature before powering it on, especially if it has been exposed to temperature changes during the move. This allows any condensation inside the case to evaporate. Once it has acclimatised, reconnect everything, do a visual check, and then power it on.

About The Author
Bill Chen
Before 2008, Bill was working with a local removalist company in Sydney and was witness for a number of deformities and wrongs in the working of the company. Observing the atmosphere, a thought came to Bill’s mind that he could do much better if he were the owner of the company, by offering a fully transparent service to the clients with a friendly and trustworthy staff and no hidden fee structure; and thus, in 2008, AAA Bill Removalists Sydney was formed with just one truck and only Bill as staff. Even if Bill Chen began the company as just one man, the company grew fast. The operation expanded beyond the Sydney suburbs and to the surrounding cities: Wollongong, Wagga Wagga, Albury, Sunshine Coast, Gold Coast, Coffs Harbour, Canberra, Newcastle, Melbourne, Brisbane, and other.
Most Popular Posts

May 31, 2022

August 9, 2022

March 15, 2023

November 4, 2021
Complete Checklist of Addresses to Change When Moving in Australia


